How to set up automatic posting from Instagram to Telegram
In this tutorial, you will learn how to easily connect your Instagram and Telegram accounts to the auto-posting service, to ensure that content is automatically published between them. This will allow you to save time and make sure that your posts are always relevant in different social networks. Follow the step-by-step recommendations, to customize the system to your advantage.
Step 1: Log in to your account
The first step is to log in to your account on the autoposting platform. This will give you access to all the necessary features that allow you to manage content and connect to various social networks.
Go to the site and log in to your account.
Setting up cross-posting
First, let’s set up cross-posting, which will allow you to automatically publish posts from one social network to another.
Step 2: Access the cross-posting section
Open the site and go to the “Cross-posting” section. This section is intended for managing connections between different social networks and setting up automatic publications.
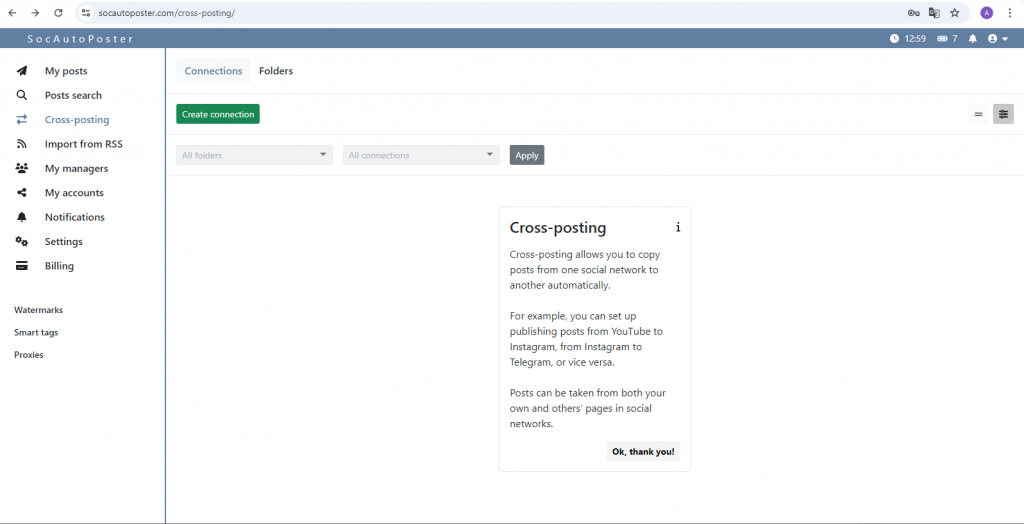
Step 3: Create a new connection
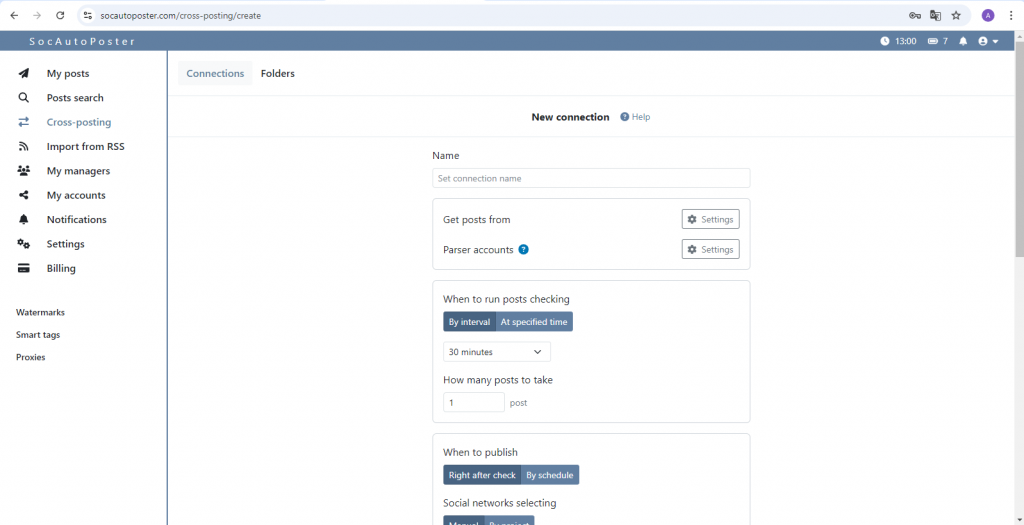
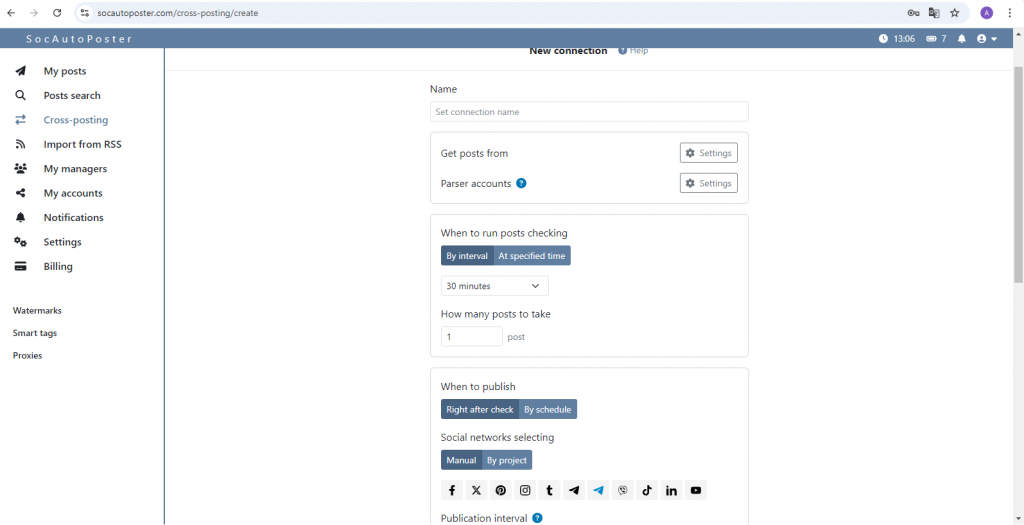
In the “Connections” section, select “create connection”. This will allow you to establish a link between the source of posts and the recipient, as well as configure other additional parameters.
Assign a connection name. Choose a friendly name, to easily identify this connection in the future. For example, if you connect Instagram to Telegram, you can call it “From Instagram to Telegram”.
Step 4: Choose a Social Network
In the “Get posts from” section, select the social network from which you want to take posts. This can be Instagram, Tumblr, TikTok, or any other platform that supports cross-posting.
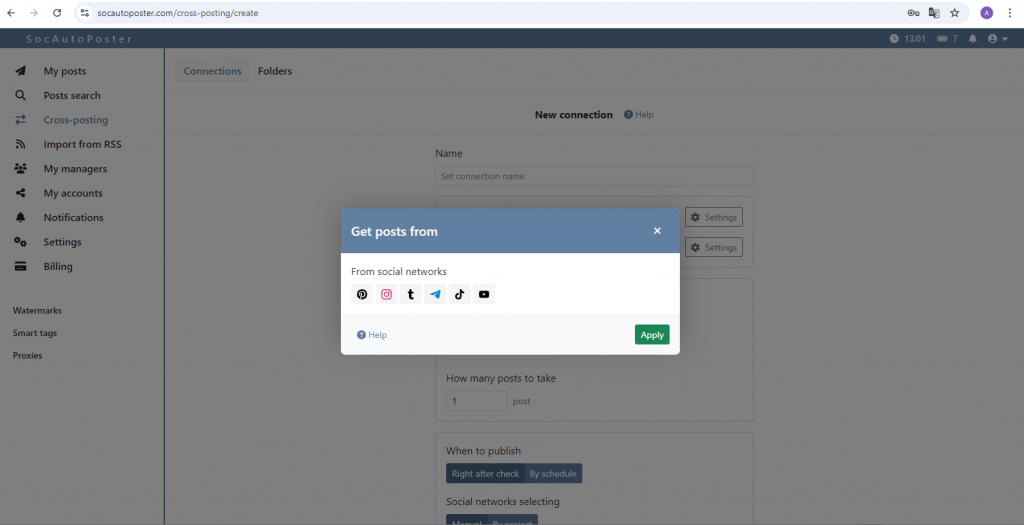
Enter a link to the group or account in the selected social network. This is important, so that the system can find and retrieve content. Click the “Help” button to see examples of how to specify links.
Step 5: Install a Parser Account
Before setting up a parser account for Telegram, you need to connect your Telegram account in the “My accounts” section.
Go to “My accounts” and in the “Account” section, click on the “Connect account” button.
Select Telegram from the list of available social networks.
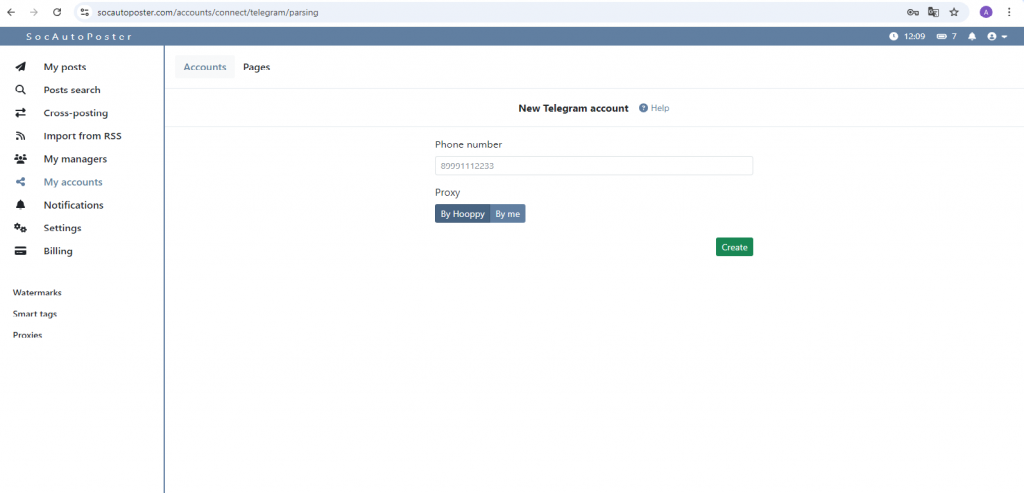
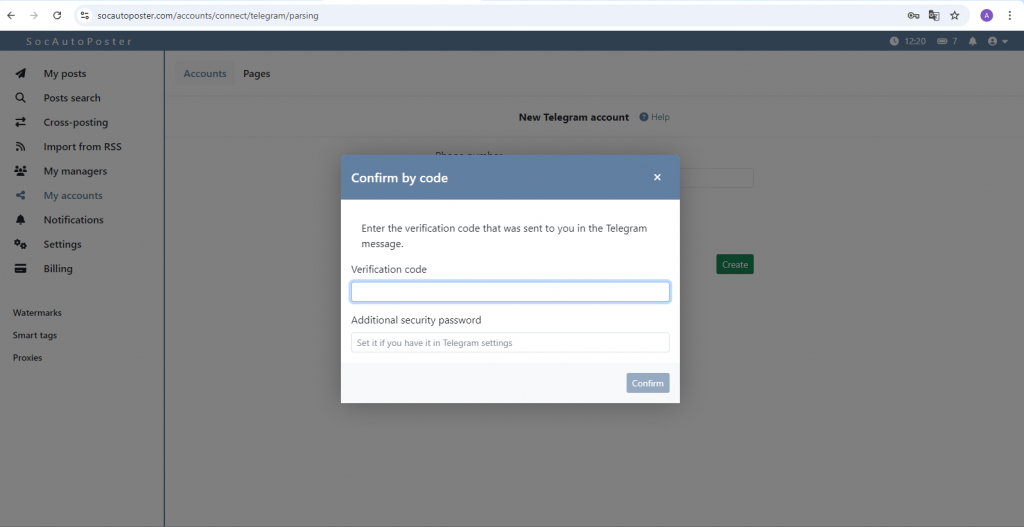
Enter your phone number, associated with your Telegram account.
You will receive an SMS with the code in Telegram. Enter this code in the appropriate field and your account will be successfully added.
Step 6: Setting the message verification time
At this stage, set the time, when to start checking messages, as well as the number of posts. This can be, for example, every 30 minutes or 1 hour, depending on your activity and the amount of content. The optimal time will ensure that your posts are up-to-date and fresh.
Step 7: Publish
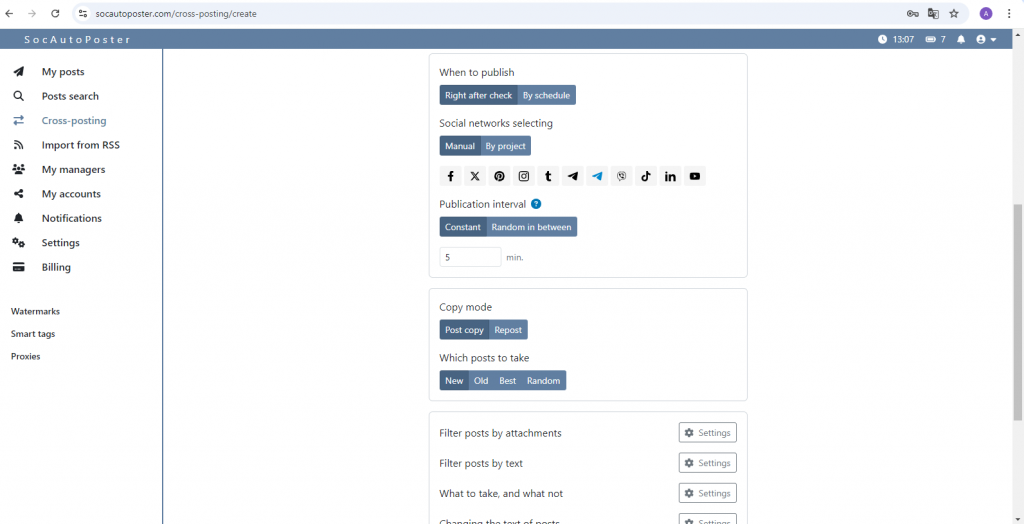
At this stage, you can choose the publication schedule, the interval between sending out publications, as well as the choice of social networks. After creating the schedule, you can choose the copy mode and which posts to send (new, old, best, random). After that, you can choose additional characteristics for sending out posts.
Creating a schedule
Publication schedule:
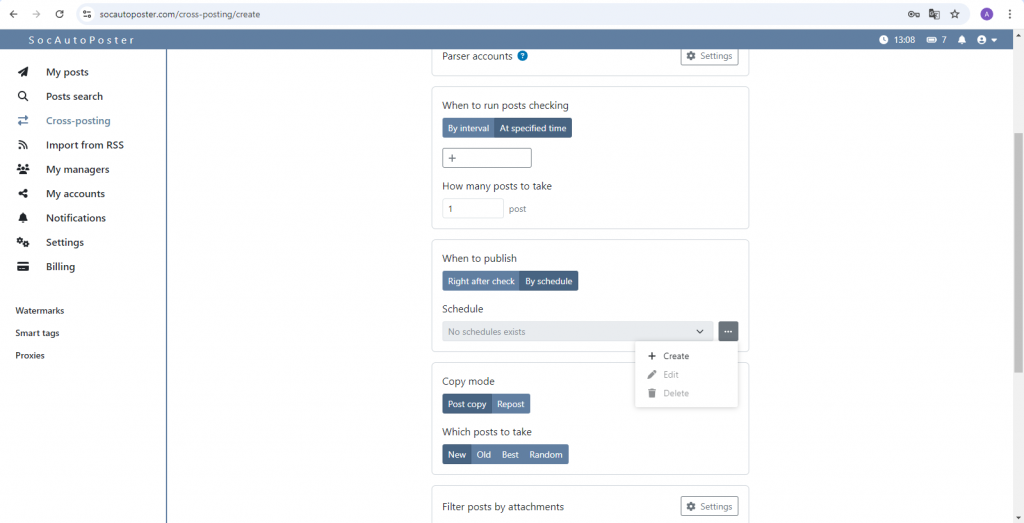
Here you can choose when your posts will be published. There are 2 options: immediately after the check or according to the schedule. In order to create a schedule, you switch to this mode, click on three dots and select the “Create” sub-item.
The “Create schedule” window pops up in front of you:
1) Name
Here you can set a name for your schedule.
2) Choosing social networks
There are 2 options: either manually, or by project.
3) Condition
There are 3 types of state: active, delayed start, and paused.
In the active list, you can set a date for setting up the event.
And in the delayed start – the start and end date.
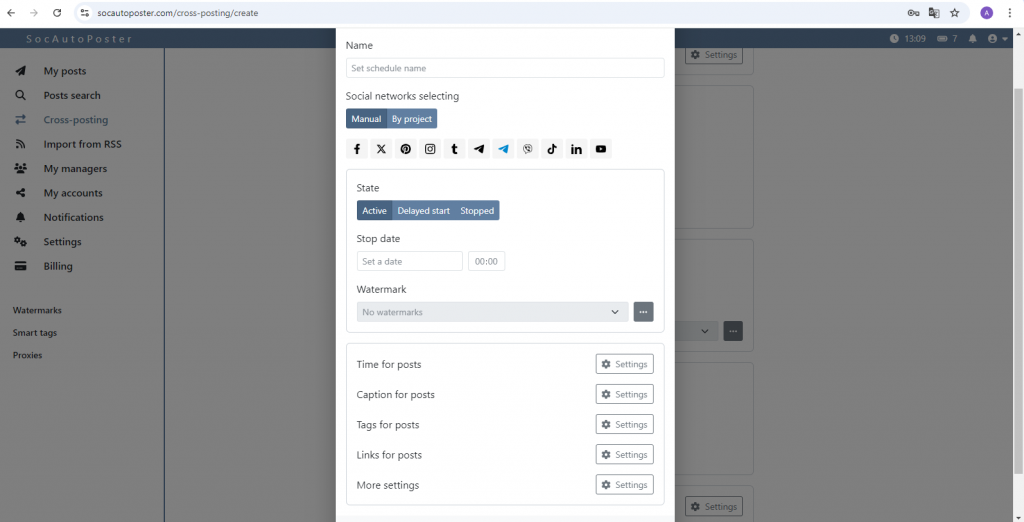
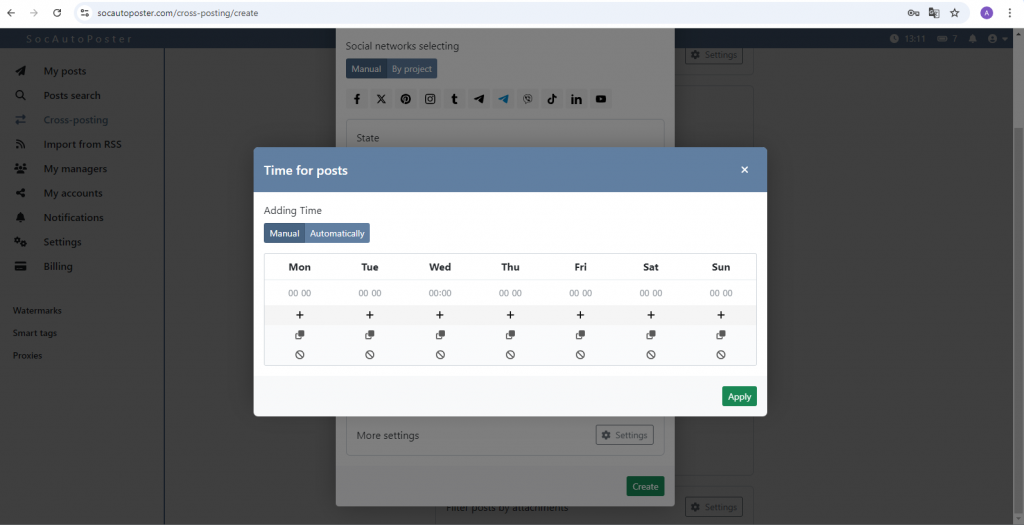
4) Time of posts
Here you can choose the day and time when your posts will be published. There are 2 sub-items: Manual and by project. In manual mode, you can schedule the time of sending posts yourself, and in automatic mode, you can specify the desired number of messages, sent per hour, and the time will be created randomly, at equal intervals.

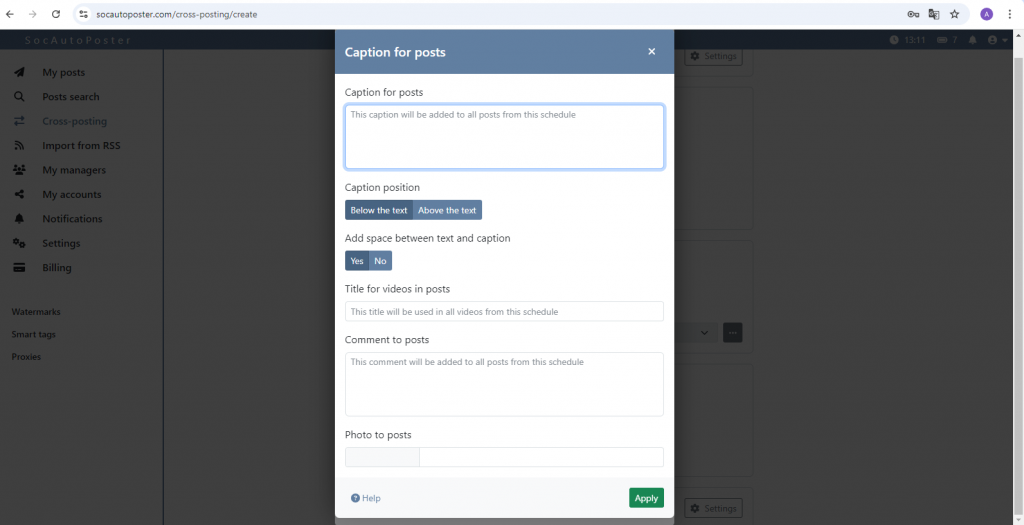
5) Message signatures
You can specify a caption for one or more social networks. To do this, place text blocks in special markers. You can find out more about this by clicking on the “Help” button
6) Tags for posts
Here you can choose different hashtags for different social networks
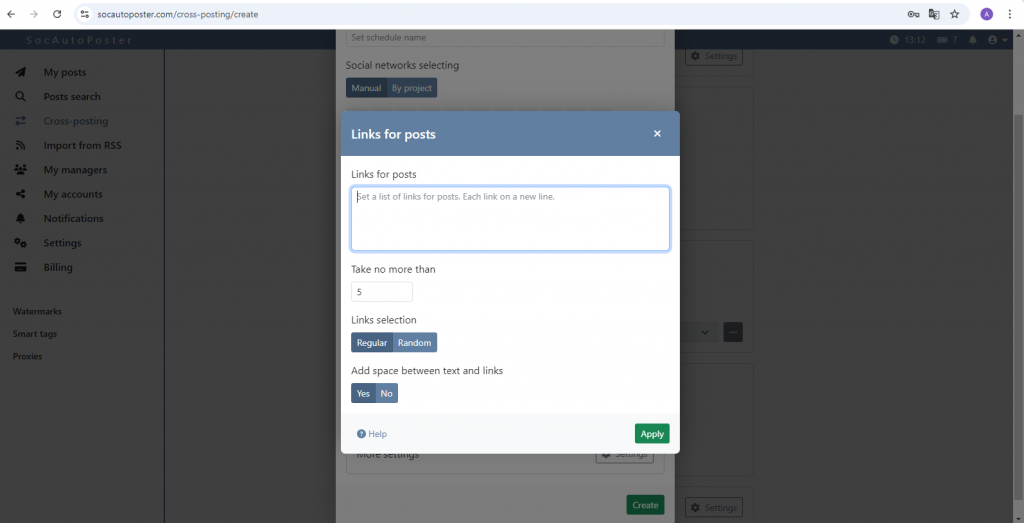
7) Links to posts
You can specify links for one or more social networks.

8) More settings
In this section, you can choose additional settings or characteristics for published posts
Step 8: Save
After, you complete the previous steps, you can save your connection, by clicking on the “Create” button